# Main Features
# Generate Dialogue Tree
- Hover the mouse over the main button to display the main menu.
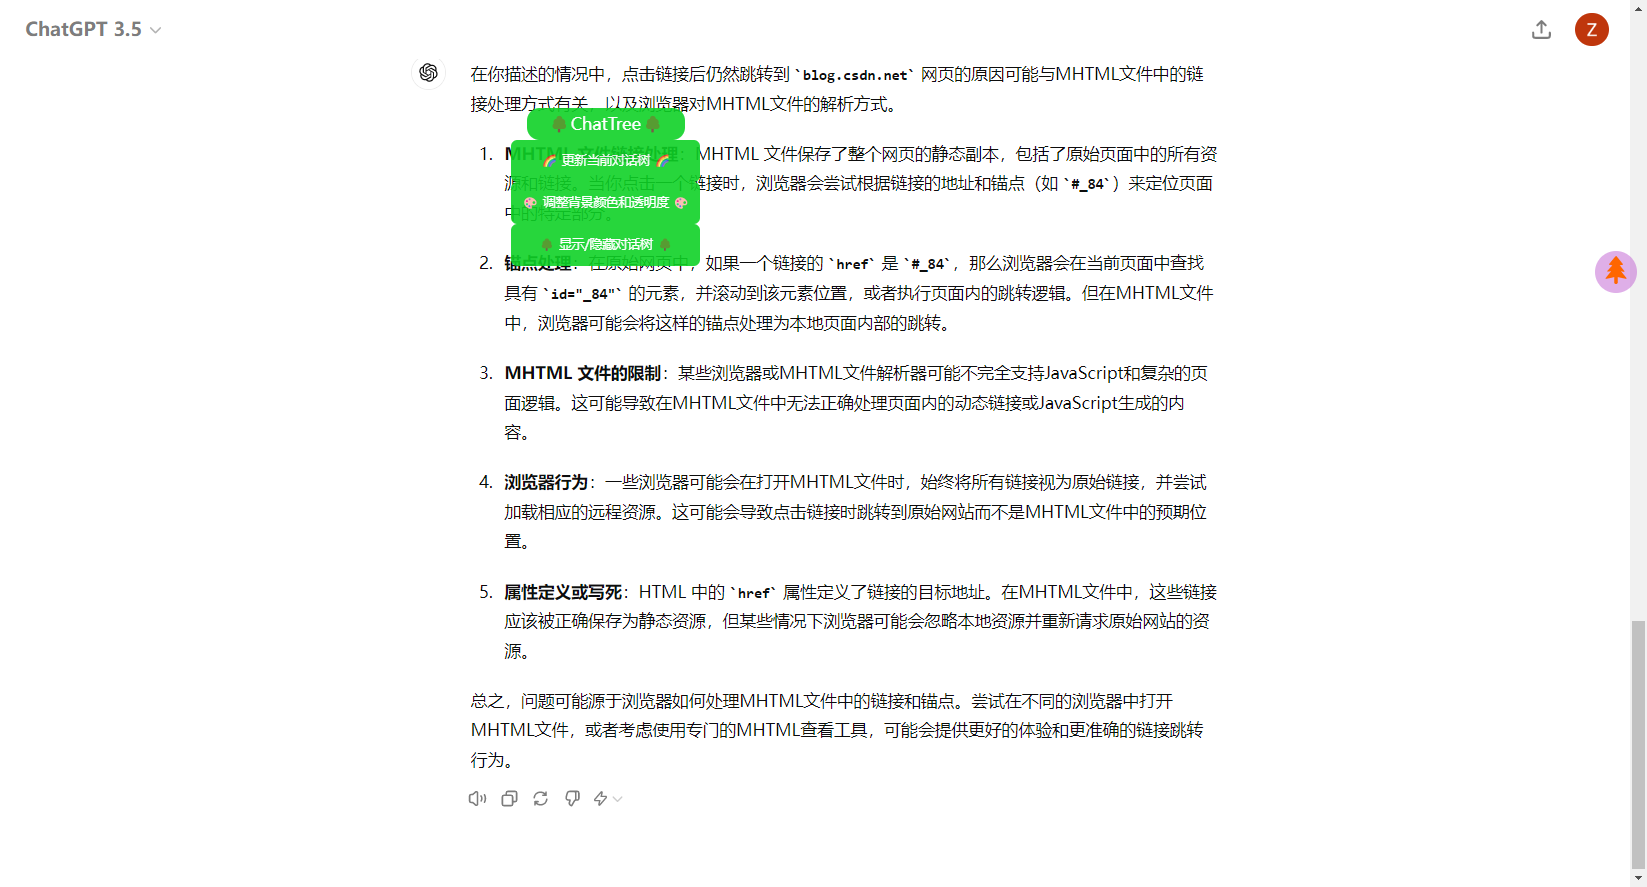
- Click on the third option: "Show/Hide Dialogue Tree".
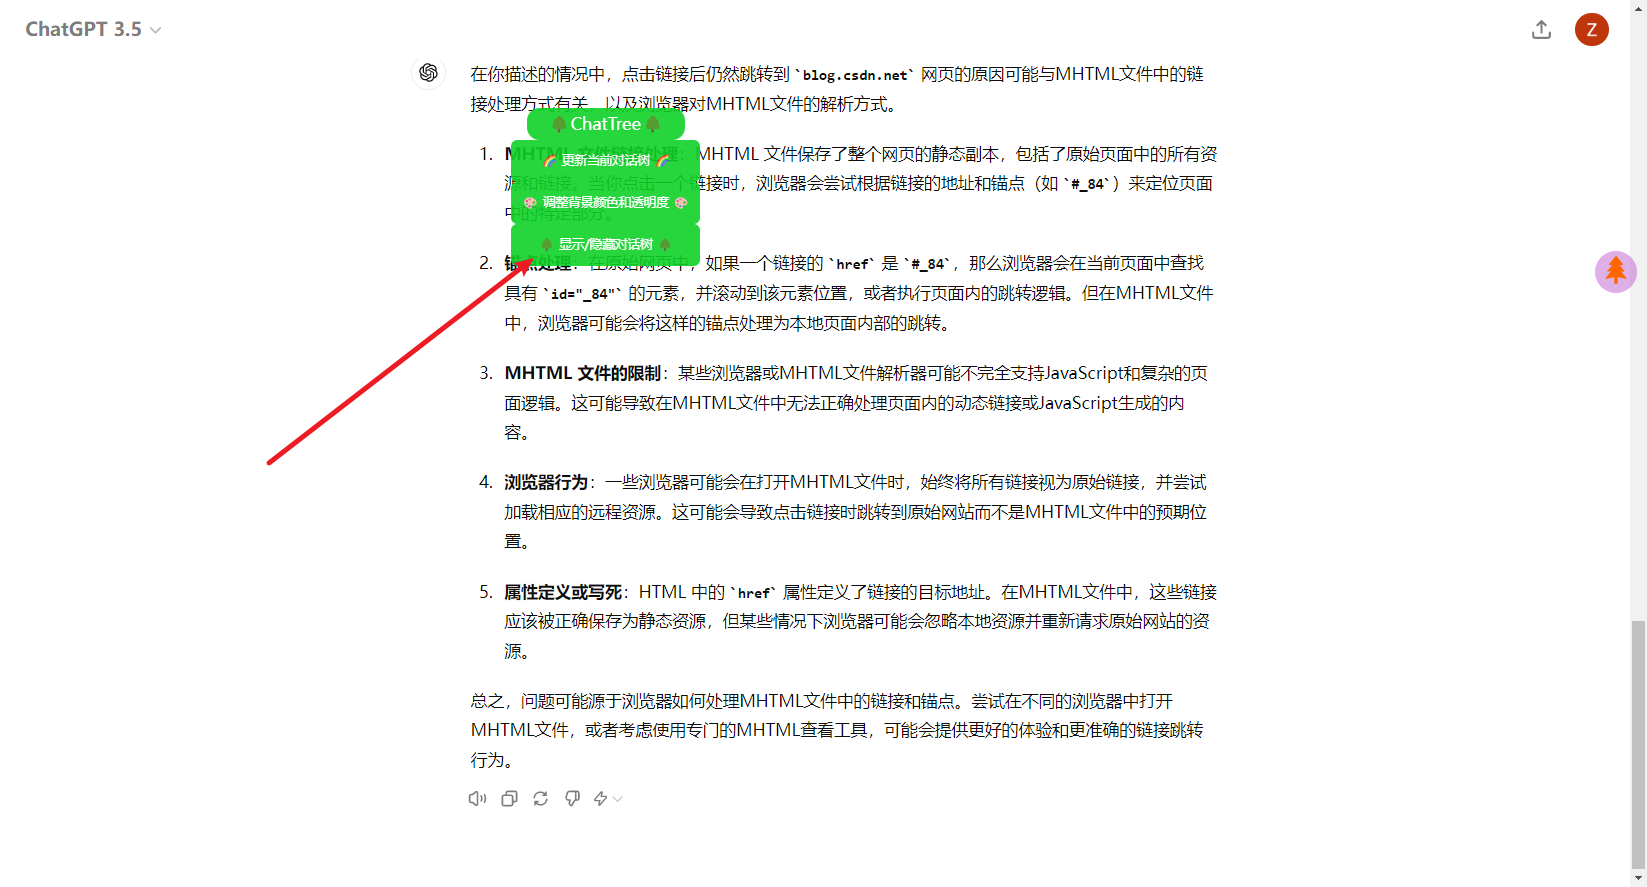
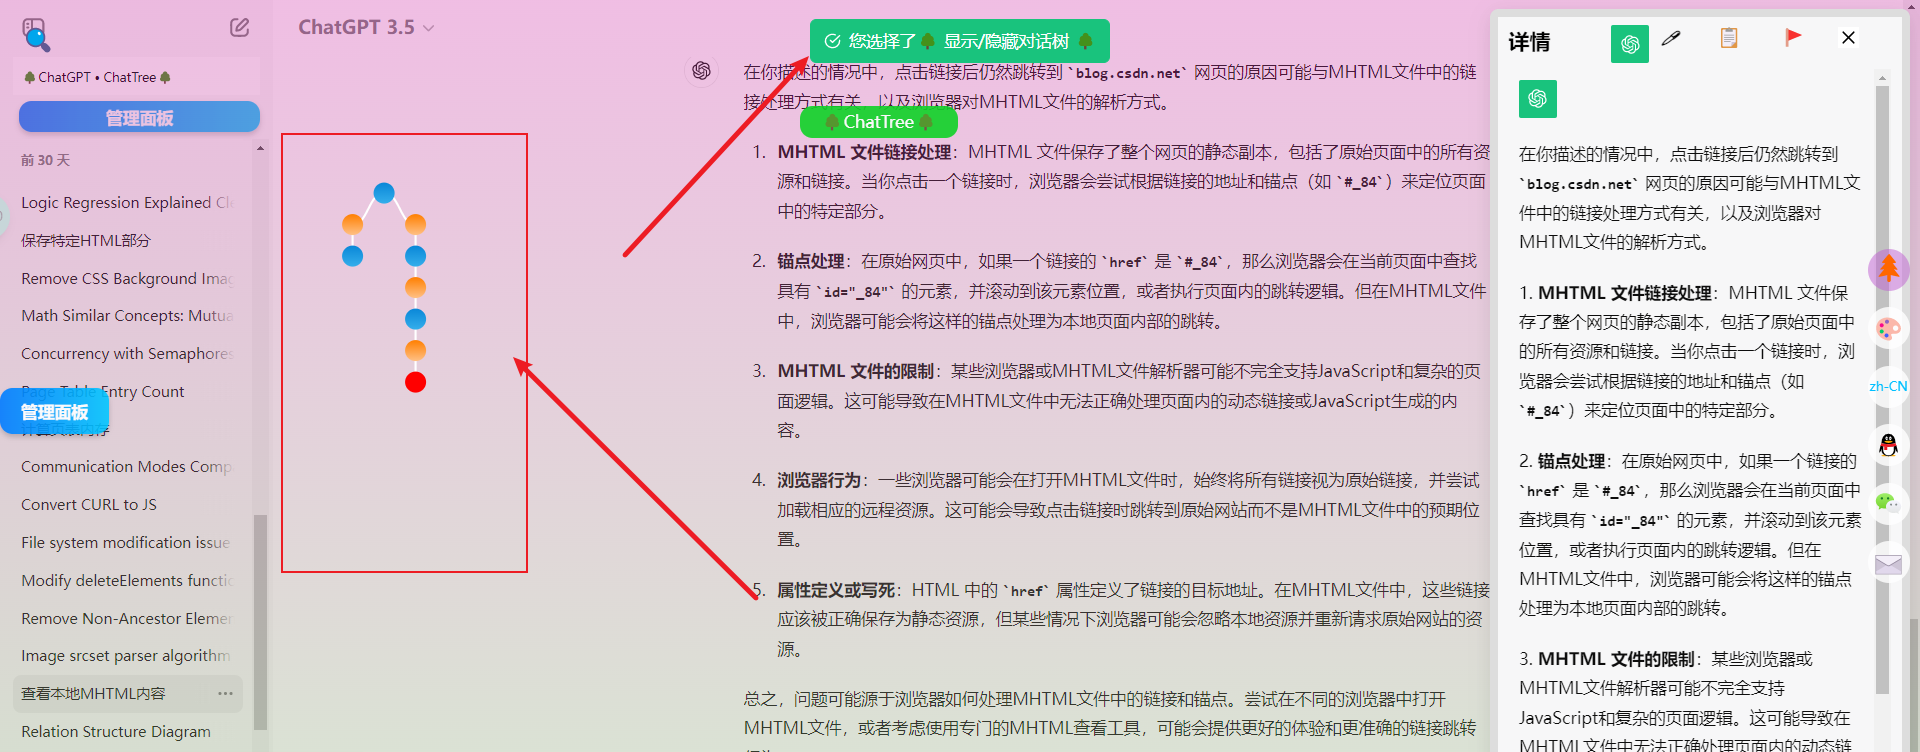
- A prompt appears at the top of the screen, and the dialogue tree of the current conversation appears on the left.
When you start a new conversation, or open an older one, the script will automatically detect this change and regenerate the corresponding dialogue tree. However, the script currently cannot update the dialogue tree in real-time.
If you need to see the new round of conversation in the dialogue tree during your conversation with ChatGPT, you can click the first button: "Update Current Dialogue Tree". After a while (about 3s, depending on your internet speed), click the third button "Show/Hide Dialogue Tree" again, and you will see the updated dialogue tree.
# Search Specific Nodes
- There is a search button in the top left corner, click to expand the search interface.
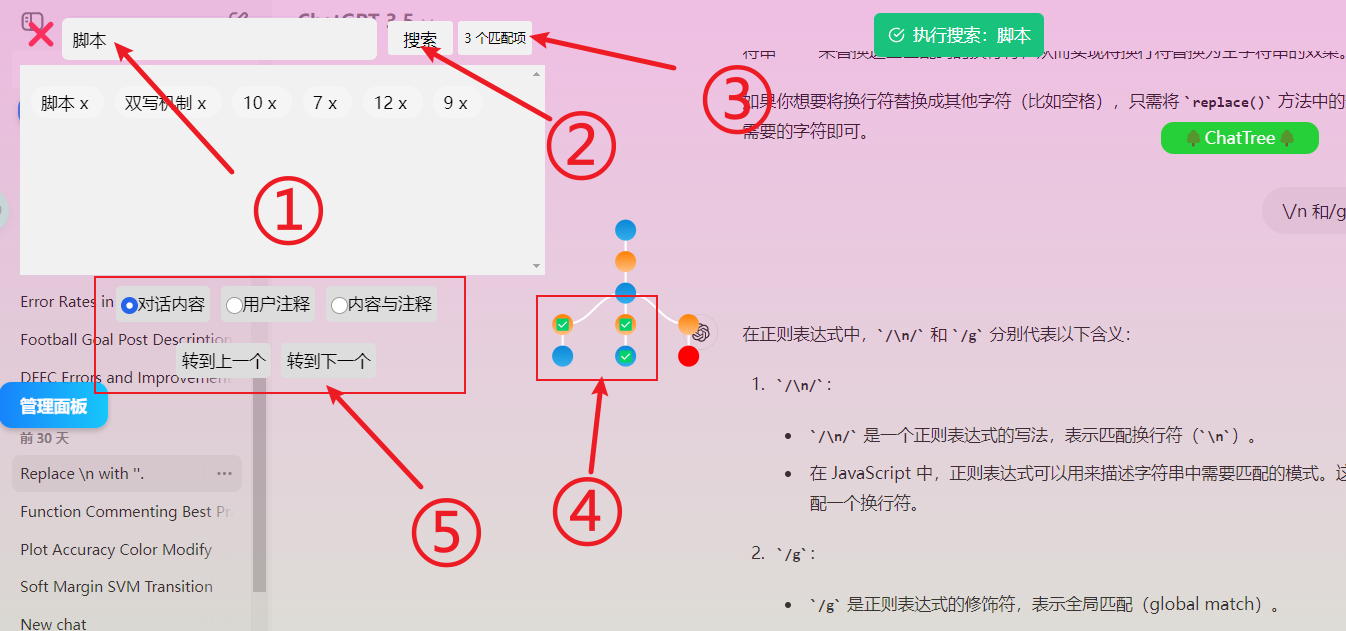
- ①②③: Enter any keyword, click "Search" or press the Enter key to display matches.
- ④⑤:
- You can set the search scope to include dialogue content/comments.
- You can see which nodes in the dialogue tree interface contain the keywords. To navigate to a specific node, click on that node and use the jump function.
# Detail Page Feature
# View Original Dialogue Content
- Hover over any node to view the dialogue information of that node.
Dragging the node and all its child nodes (also understood as subsequent/underlying nodes) will move in the same manner. This action can be used to temporarily organize the visual relative position of existing nodes, but all operations and results will disappear with the page refresh.
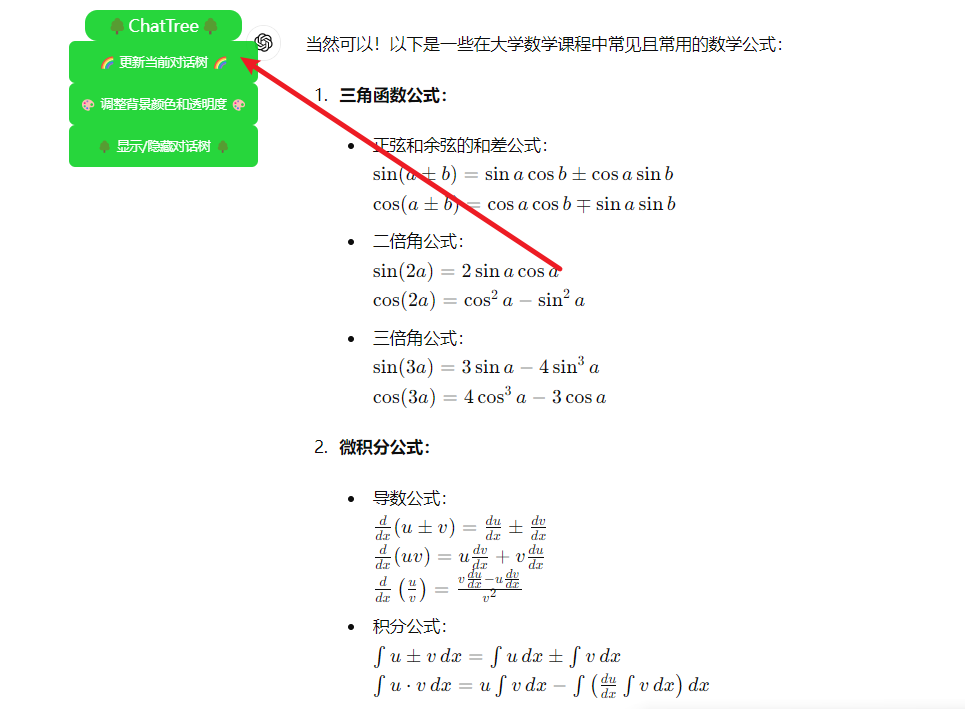
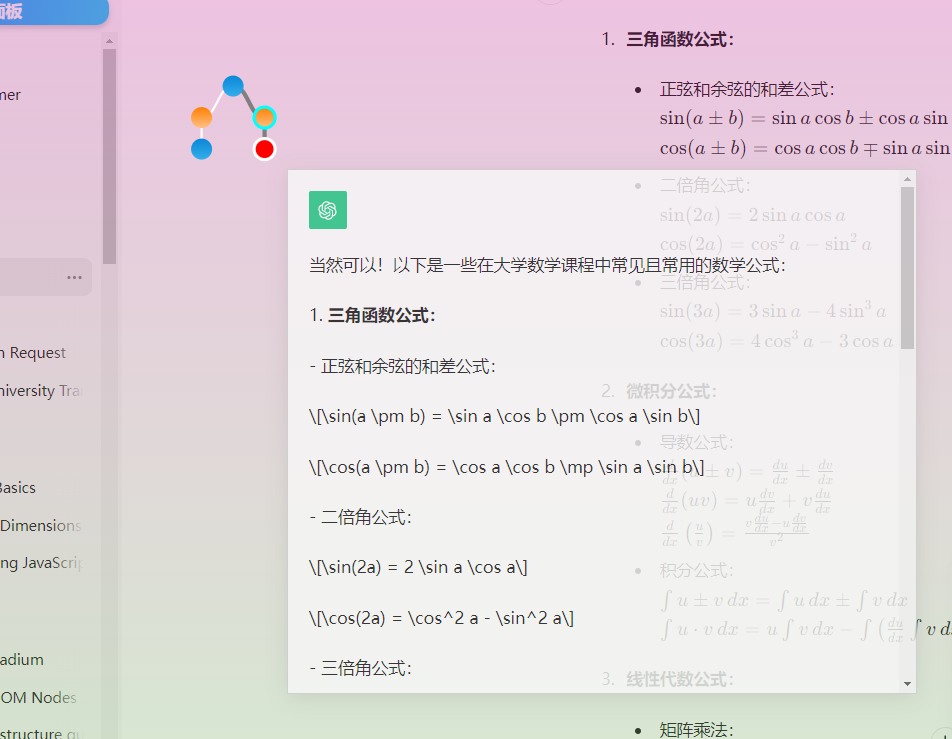
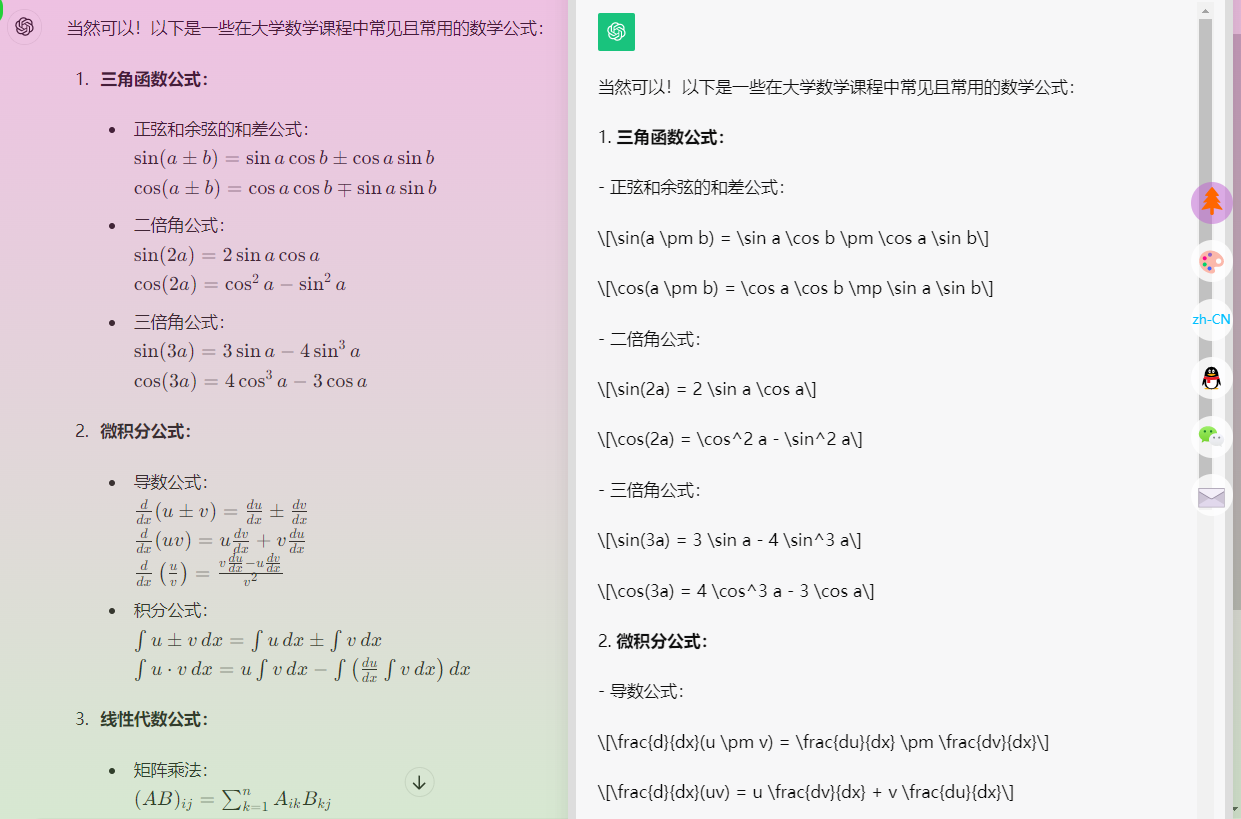
- Clicking on a node, as shown below, allows you to view the original LaTeX content of all formulas provided by chatgpt, which is convenient for academic writing environments to copy formulas.
- Hold ctrl and scroll to zoom in/out of the dialogue tree interface, facilitating the viewing of dense dialogue trees.
# Detail Page Top Right Toolset
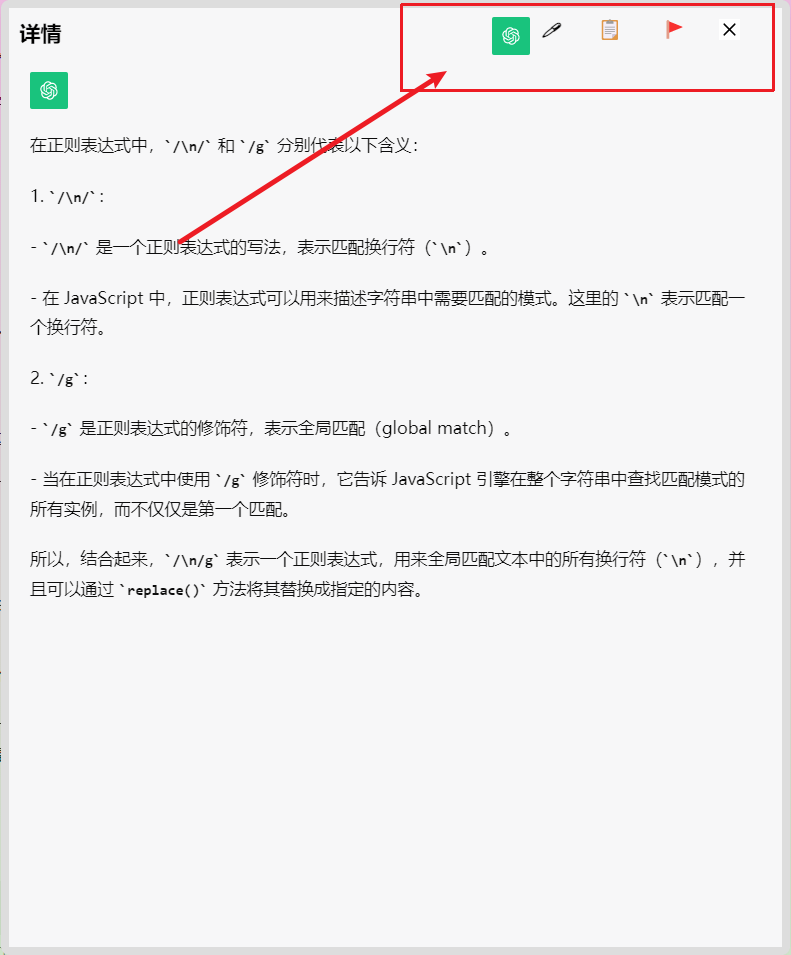
- The detail page has several buttons in the top right corner, explained below in order:
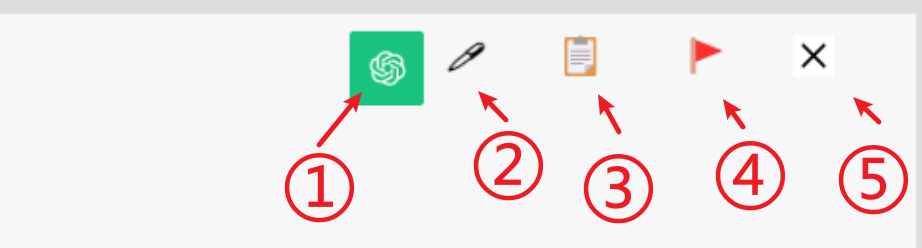
# ①: Drag, Scale Detail Page Window
- The chatgpt icon (or your avatar icon, depending on the initiator of the node) can be used to drag the detail window: press button ① and move the mouse to drag the detail window.
Some browsers can use the middle mouse button for the same operation, but the functionality is not guaranteed.
- Hovering over the edges of the detail page allows you to scale the detail window.
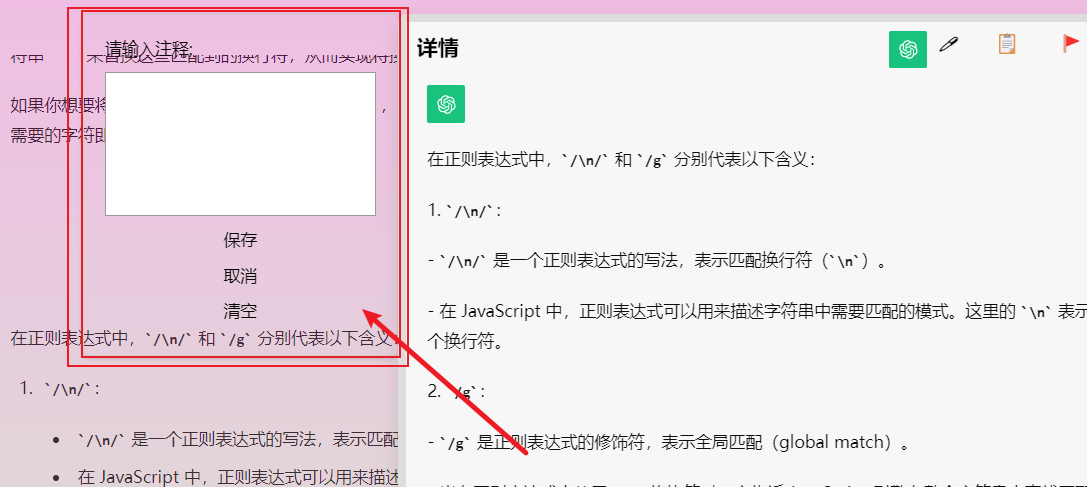
# ②: Add Comments to Nodes
- Clicking button ② allows you to add comments to nodes, which are temporarily stored but may disappear with the browser's refresh cache. It can serve as a reference for temporary conversations and facilitate quick location of the node through the search feature. The script does not guarantee the longevity of comments.
# ③: Copy All Content
- Clicking button ③ automatically copies all content, although you can also select and copy parts independently.
# ④: [Core Feature] Locate Any Node
- This is the core feature of the script: when you search for a specific node, you can quickly navigate to that node. The navigated node (in the original webpage) will have a flashing effect, indicating you have found it. If not, or if the webpage is unresponsive or stuck, it might be due to a unique dialogue tree structure.
- This feature is ideal for building a long-term conversation, where you need to systematically and sequentially go through a dialogue (e.g., reviewing a whole book at the end of the term or wanting to fully understand a concept), combining the search + jump function of this script to construct a dialogue with ChatGPT like a mind map.
# ⑤: Close Detail Page
- Clicking button ⑤ temporarily closes the detail page, but when you click any node button again, the detail page will reappear, displaying the new node content.
# Support the Author: